Pages

Showing posts with label Techie Tuesday. Show all posts

Tuesday, March 4, 2014

Techie Tuesday: Dropbox

Some of you have sent me messages inquiring on how I use certain apps in my classroom with the 1:1 iPad setting.  So today, I want to talk about how I use Dropbox with my kiddos.

In case you didn't know, Dropbox is basically a virtual cloud in which you can upload all sorts of things ranging from documents to pictures and more.  You can share these files with other people, or access them from any device that connects to the internet.  Dropbox is available on the computer at www.dropbox.com or in app form on the iPhone, iPod, iPad and Android products (and more). 

It's safe, it's secure, and best of all it is FREE if you are using their basic subscription. 
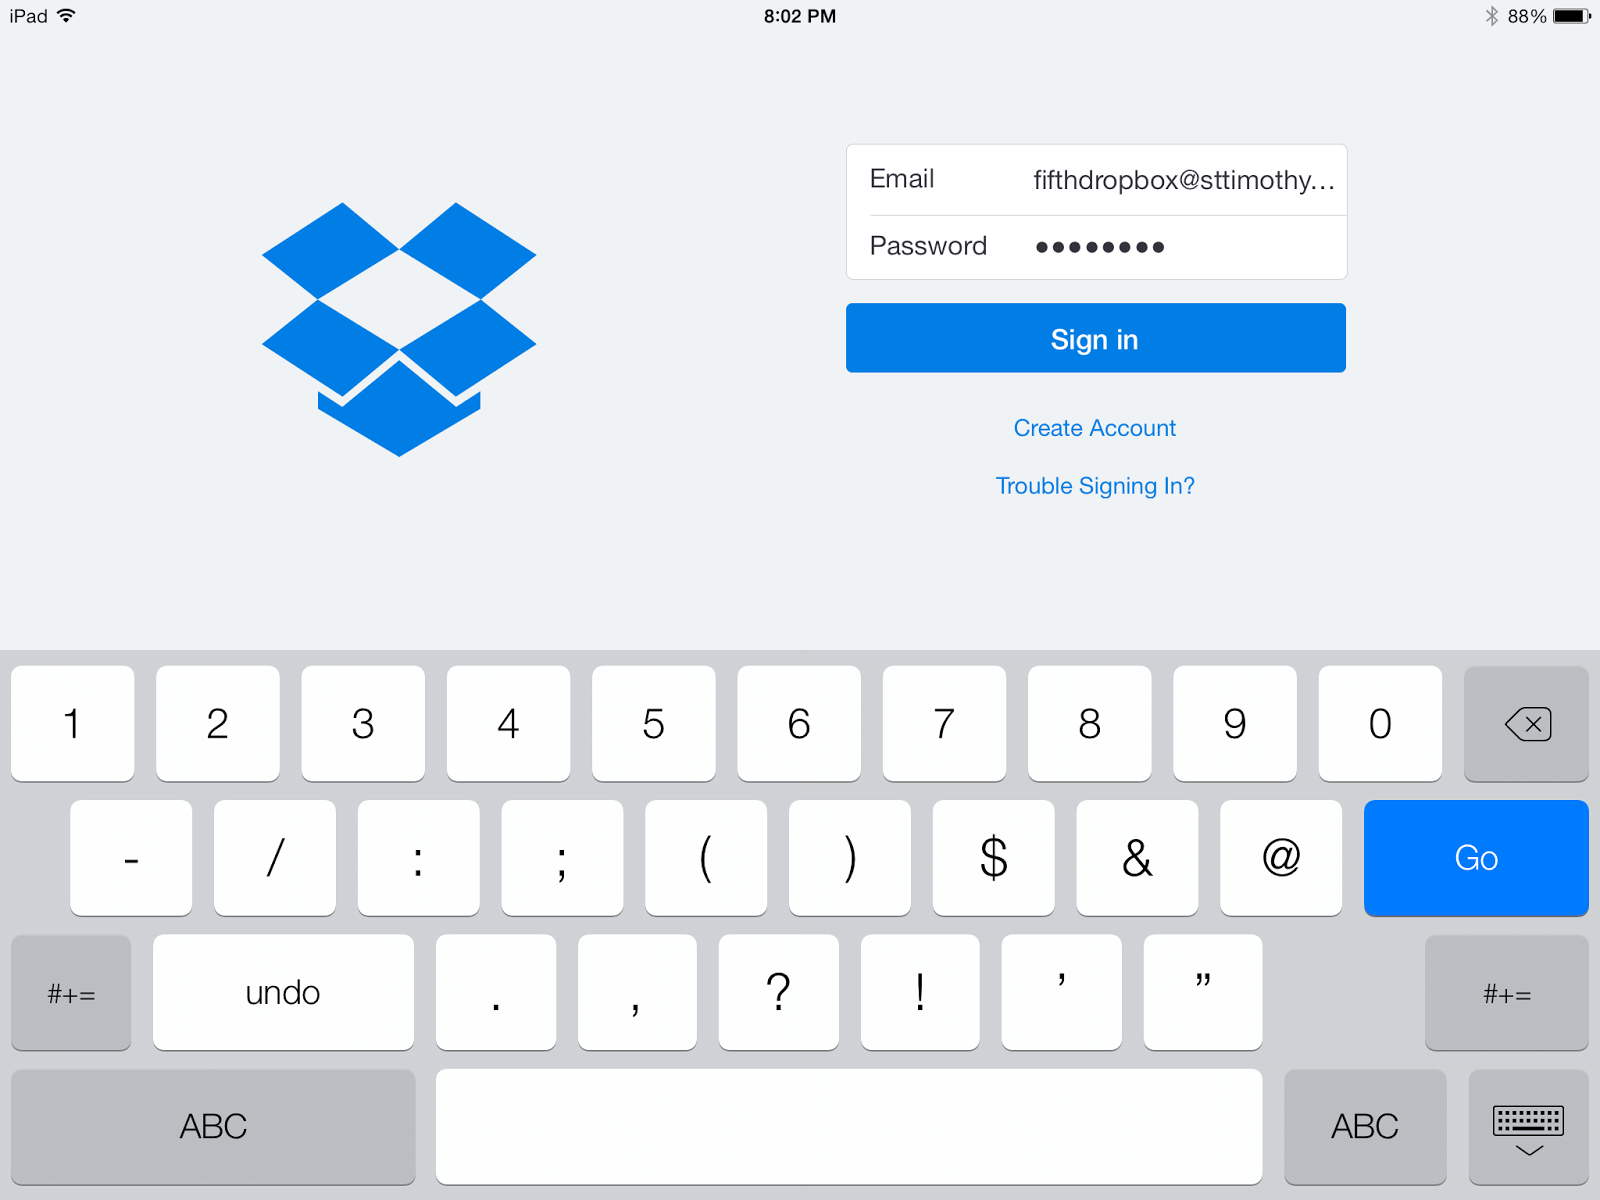
Logging into account on iPad
You are given 2 GB with the free plan. This has always been more than enough for my class.  For my classroom setting, I wanted to use Dropbox as another way for students to share their work with me.  In turn, I use it as a place to upload audio files, pictures (commonly pictures of the math notes that I gave for that day), and other files that I want them to access.  I could of course share these things with them through email and Google Drive but I often find that Dropbox is a quick and efficient way for me to do it.  I regularly clean out our Dropbox with files that we no longer need with the exception of our math notes which remain in there all year. 

Cancel this - prevents photos being uploaded.
The first thing I did was create a generic Dropbox account.  (I also have one that is just for my use as a teacher but used a different email.) Since I have access to create email accounts at our school, I was able to create a 5thgrade@ourschooldomain.com email but you could do it using any regular email provider (gmail, hotmail, yahoo) or even use your school email.  I used that email with a generic password when creating our Dropbox account.  After I created the account I then provided the login and password to my students.  Using their iPads, they logged into the account.  I made them all cancel the automatic photo upload so any picture they took on their iPad wouldn't be automatically synced to our Dropbox. 
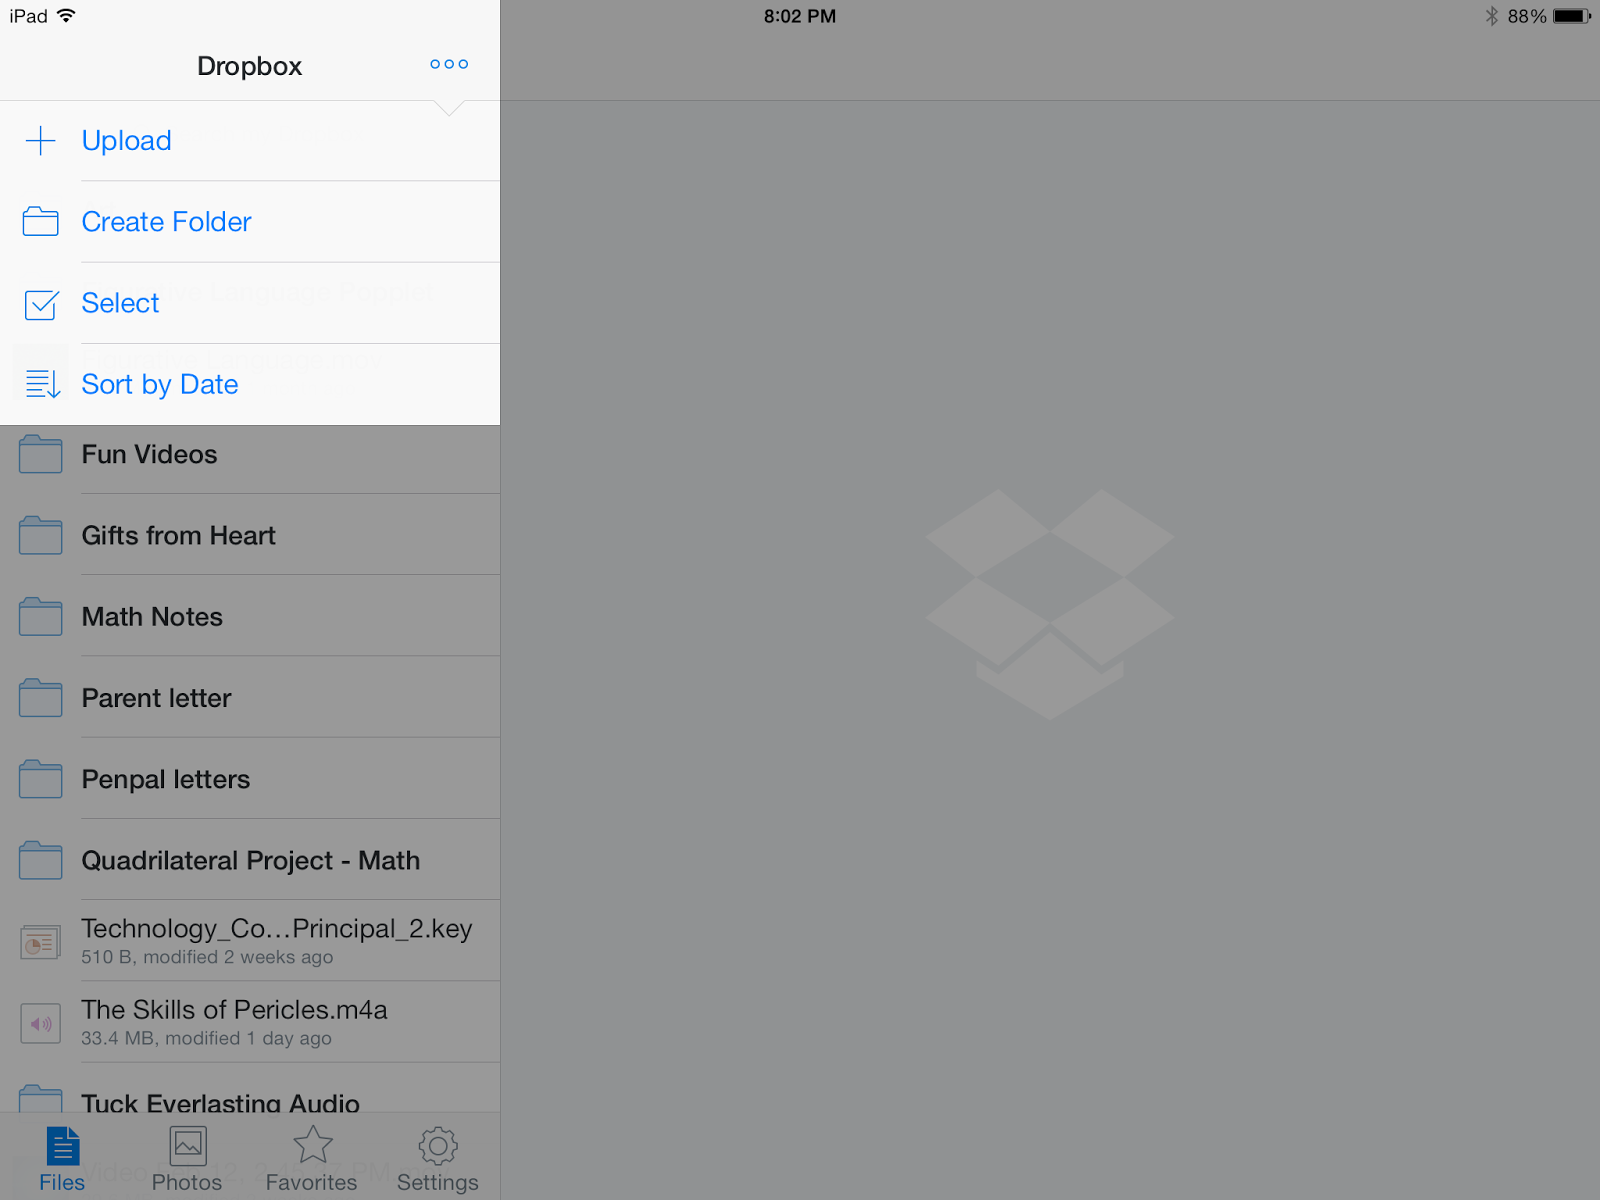
Easy to upload, create, and select & delete files.
The method is perfect for what I'm using it for.  It gives all of us a central location for things we need in class.  If a student has something on their iPad that doesn't need to be shared with me or the class, they simply use their Google Drive for that instead. 

It's easy to upload things directly from your computer or device.  You can even create folders within your Dropbox to keep things neat and organized. Once you have put files in, you can click on them and choose from a variety of options such as emailing, messaging, etc.  Or you can open the document in another app that you choose from a list. 

If you haven't already used Dropbox I highly recommend you check it out.  Even if you don't have a 1:1 program in place, it can be useful in the classroom and for a teacher!  So check it out today.


Tuesday, January 7, 2014

Techie Tuesday: DocScan App

Hello Friends!  I'm back to share with you another cool app that you may or may not have heard about. And if you haven't, then trust me when I say, you want to know about it. I learned about it from fellow blogger, Catherine, over at The Brown-Bag Teacher.  If you haven't checked out her blog, I encourage you to do so. 
DocScan is an app which allows you to snap pictures and turn them into PDFs.  The basic app is free but if you want to have more features available to you, it costs only $1.99 to upgrade on your phone or $3.99 on your iPad. Within a matter of minutes of having it, I decided to upgrade so I could export my PDF to different locations.

If you are like me and you have a 1:1 device school this app is AWESOME to allow you to quickly take a picture and send it as a PDF to your student.  It even allows you to decide if you want the PDF to be in color or black and white. You can adjust the brightness of the picture as well. 


What the folder looks like.
Here is an example of how I used it the first time. I took a picture of our Science Lab pages since I typically have to make hard copies for each student.  I created a folder that held both photos of the lab page front and back side.  After I adjusted the cropping (they even let you fix curled pages!), I uploaded my folder to Dropbox.  Since I had put the photos into the same folder, it automatically made it a two page PDF.  After I had the PDF in our class Dropbox, my students were easily able to grab it and open it in Notability (another AMAZING app!).  In Notability they are able to write on the PDF like they would with a pen and paper. After they completed the lab, they uploaded their final assignment onto our class Edmodo page for me to look over and grade.  Easy - easy - easy!!!

I love it because it's easy, saves paper, and allows me to quickly provide my students with what I need them to have WHEN I need them to have it. No more running to the copier room last minute for me!
What the PDF looks like.

My students love it because they get to use their iPad and do what we call App Smash - using multiple apps to complete a project. 

I highly encourage you to check this app out ASAP - and trust me. It's worth the $1.99 or $3.99 (depending on your device) to upgrade. :-)

What apps do you use for PDFs?


Tuesday, March 5, 2013

Techie Tuesday: Owl Pellets

Every year my students and I dissect owl pellets for one of our Science labs in Life Science.  I purchase my owl pellets from Owl Brand Discovery Kits.  In addition to always being a fair price, they also provide you with free printables.  We watch a quick YouTube video which discusses what exactly a Barn Owl Pellet is since most students mistake it for owl feces. 


After watching the video, I quickly go over how to dissect a pellet carefully.  The students work in groups of two using tweezers and picks to uncover as many bones as possible in their owl pellets.  When they were finished, they spent time sorting the bones and determining which rodent they came from.  In years past, I've always had them use handouts that I provided.  However, this year I purchased and downloaded the app called Owl Pellets which is developed by Carolina Biological Supply (they also have a free version too!).  This app provides charts in which students can classify the bones, a database in which they can enter the data of their discoveries and compare with other students from across the nation.  Additionally, it has videos the students can watch as well. 


After the students sorted and separated out the bones, they then had to try to construct a skeleton on a piece of black construction paper.  The different groups of students would share bones so they could construct as much of a complete skeleton as possible. 


This activity always ends up being one of the class' favorites.  It combines not only science but a hands on opportunity which I find is best when it comes to discovery.  Do you dissect anything in your science class?  Tell me about it below. 
Related Posts Plugin for WordPress, Blogger...