I'm Katie Lyon and I'm a 2nd grade teacher, VP and blogger at Mrs. Lyon - Teaching: The Art of Possibility. On my blog, I share classroom tips, teaching ideas, and classroom resources. I'm a big fan of technology, and am in charge of our school's 1:1 iPad program. I share tech tips that can be applied to the classroom.
February is coming up and you know what that means!! Love is in the air - and since one of my all time favorite loves is Math I decided to make a freebie for all of you. If you haven't already heard, Laura Candler over at Corkboard Connections is having a February Freebies Linky Party. Be sure to check out all the other awesome freebies that are available!
Okay back to what I have available. :-) Have your students practice their multiple digit multiplication with this fun little activity. And for those of you who have the ability to scan QR Codes in your classroom, I created the activity with the ability to use those too.
So pick your love potion and download this neat little freebie today!
I typically don't promote the products I create and sell on my blog. I try to keep my posts about ideas that you can take back to your classroom and occasionally will mention you can accomplish the idea with a product I created (or not). :-)
However, today I'm going to do a bit of shameless self-promotion coupled with my very first giveaway EVER!!!! I'd like to invite you to check out my TpT store and see what I have there. Perhaps you'll find something useful for your class. And to help you out, I'm giving away a $10 TpT gift certificate. Just enter the giveaway below. Of course it's not mandatory for you to spend your winnings at my store - there are so many amazing products listed on TpT from other teachers that I encourage you to browse away.
Good luck to all who enter! The giveaway will go on until Monday next week. And thank you for taking the time to read my blog. It's because of you, the readers, that I continue to share. :-)
Most educators can agree, Pinterest is a wonderful place to find ideas. The great thing about my school is almost all the teachers are on Pinterest, so when one comes across an idea they are always willing to share. Just last week, our second grade teacher shared an idea that I absolutely loved! Using a dry erase marker, she wrote little messages on the desks of her students giving words of encouragement and praise to individual students.
I'll admit that because I teach 5th grade and my students are older I sometimes forget that they even appreciate being recognized by their teacher. I decided to jump on the bandwagon and also wrote on my students' desk before they came into the classroom. So for the past two weeks I have chosen 6 students on each Friday and I wrote a little message on their desk using different colored dry-erase markers. The messages were met with enthusiasm from my kids and they really enjoyed going around and looking at what I wrote.
I'm keeping a class list so I know what desks I've written on and which ones I still need to do. Since I only have 17 students, each student will receive a message from me about every three weeks. I enjoy taking about 5 minutes and focusing on a positive little message directed at each individual. One of my favorite parts about my Feel Good Friday Comments is that they are quick and easy to do and are appreciated.
How do you recognize your students or provide encouragement? Share your ideas below.
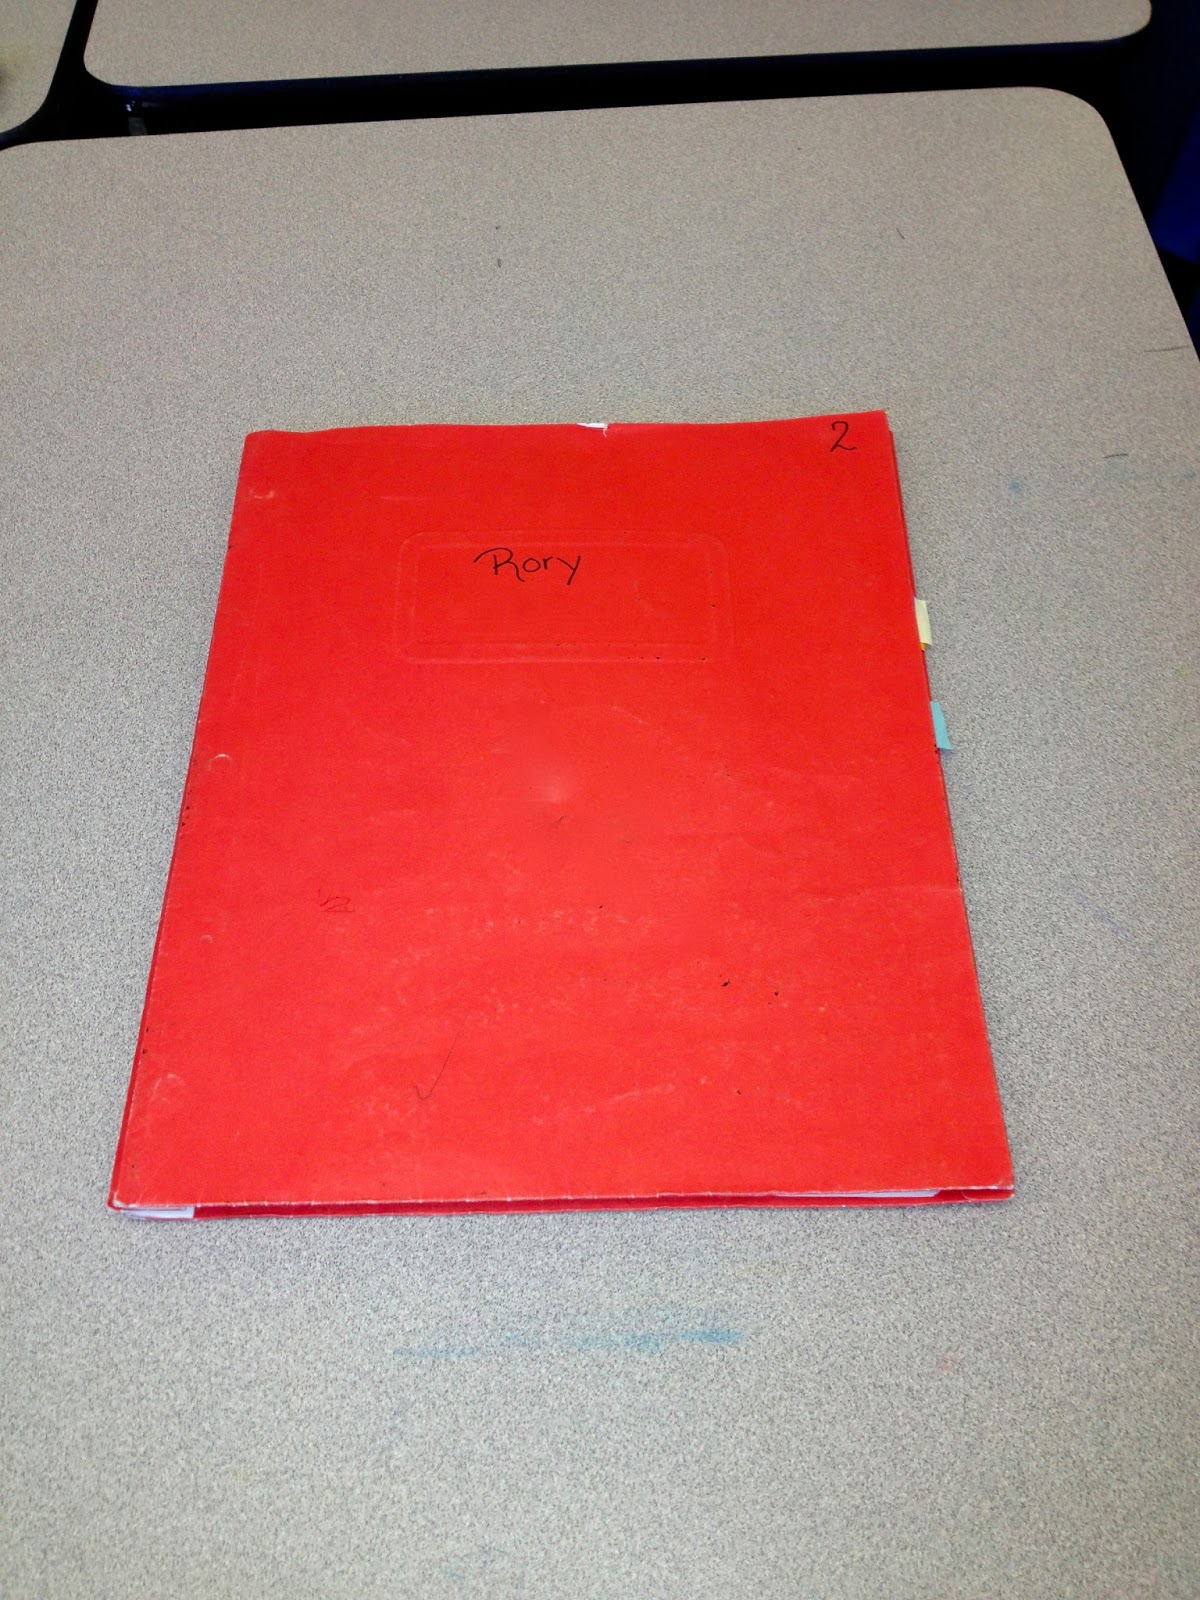
One of the most common things mentioned regarding classroom management is being prepared first thing in the morning. Part of that is having something for your students to work on when they arrive to your room so they aren't idle. For the first few years of my teaching career, I always had what I called Morning Work ready for my students when they came into my room. However, sometimes I would forget to make the copy or the students would have to ask me for assistance. Last year I came up with an idea to make my life easier. Enter Morning Work Folders!
In the beginning of the year, I create a folder for each of my students. Inside the the 3-prong folder I have 5 days worth of morning work for an entire quarter. On the first day, I walk my students through the folder and we discuss what each day's work is. I typically get this work from workbooks in which I don't use every page or my teacher resource books. I try to touch on math or reading comprehension in a certain subject each day.
An example of my morning work from this quarter is as follows:
Monday - Time for Kids worksheets (I always receive a little booklet with my TFK order)
Tuesday - Real Life Comprehension sheets: Students look over one side of the sheet and answer questions on the back (I LOVE THESE THINGS and my students enjoy seeing which one they are doing each week.)
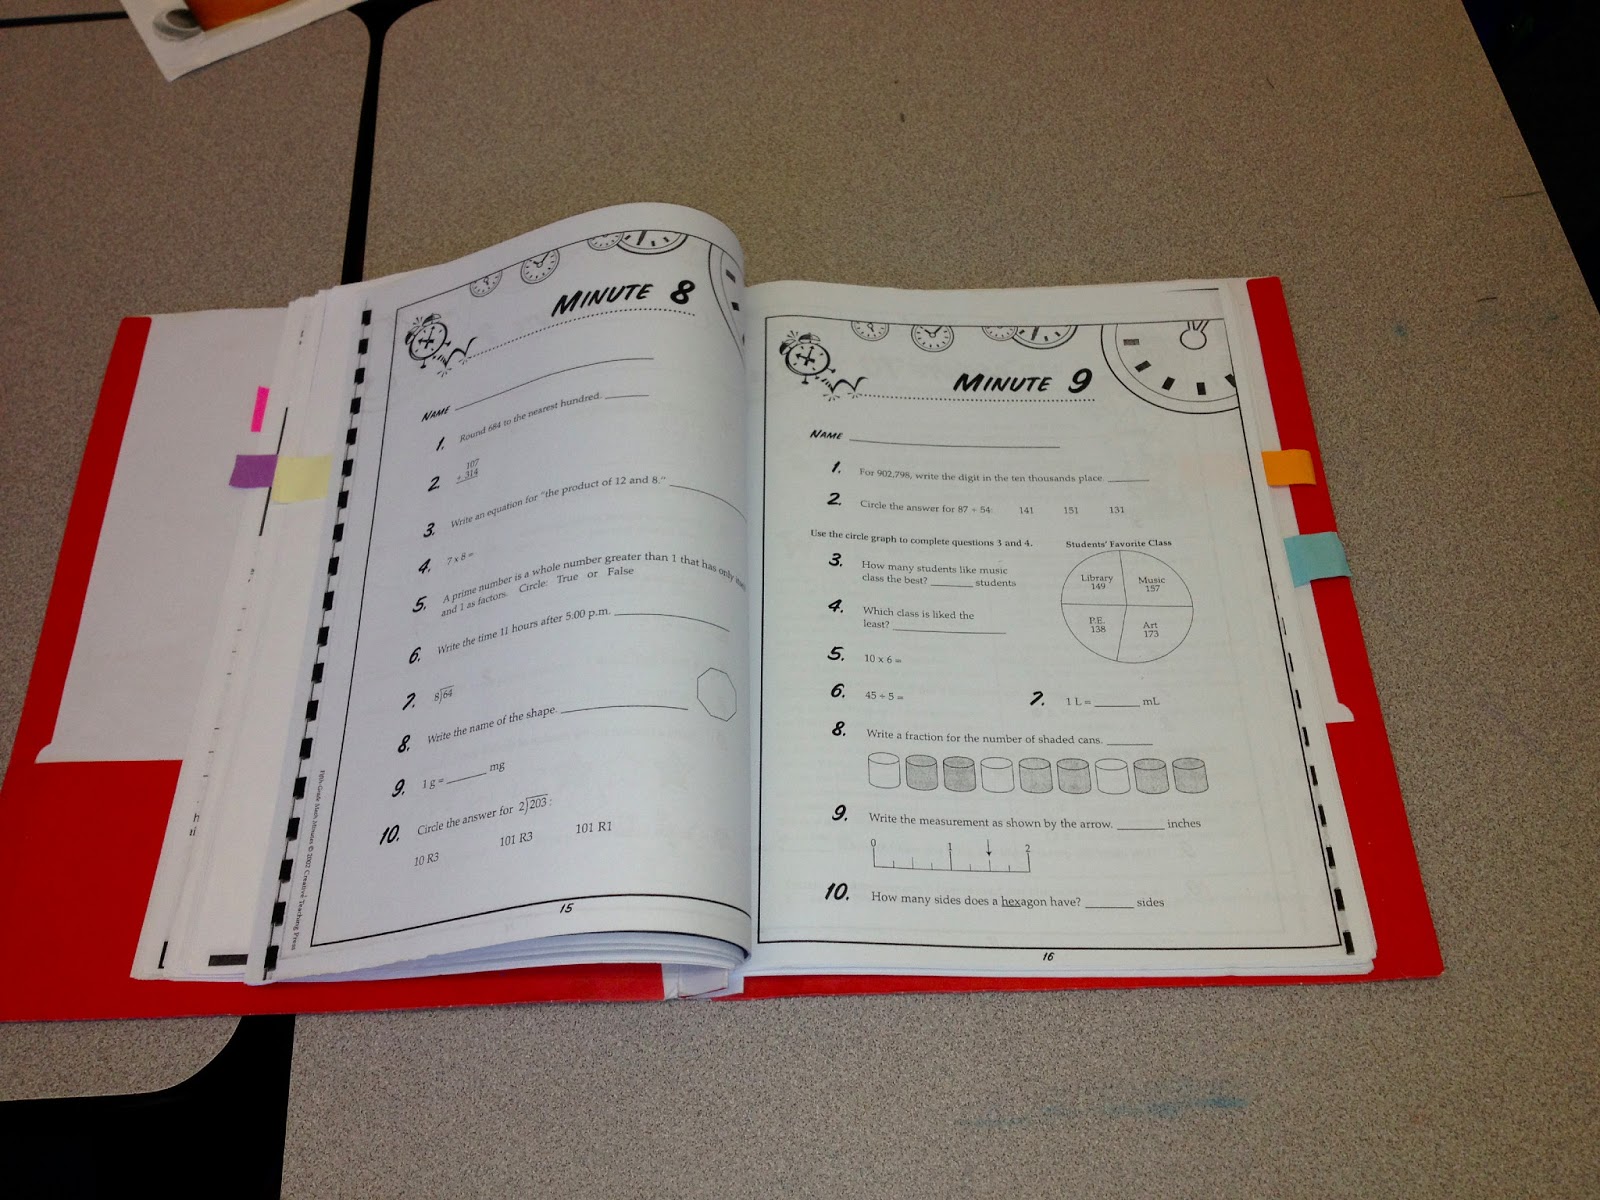
Wednesday - Math Minutes: Quick worksheets that give a variety of spiral practice.
Thursday - Detective Reading Comprehension
Friday - Grammar practice
Each day is separated in their folder by a post it tab with a specific color. On the calendar above each day, I have the same color post it shown. This way, students know that if it is Monday they are working in the pink post it section, Tuesday is purple and so on. Each week as they complete the page, they move the post it note to the next sheet in the section. These folders never leave the classroom, so there is no chance of a student not having it to work on the next day.
The Morning Work Folder enables me to get the paperwork that needs to be done first thing in the morning completed, while giving the students a routine that they are aware of and follow daily. They are usually able to complete the work in about 15 minutes and then we take an additional 5 minutes to grade it so they get immediate feedback. Each quarter, the students empty out their folder and I give them the new packet and they quickly insert in their post-it spacers again.
It's a quick and easy routine that has made my life so much easier! What do you have your students do first thing in the morning?
Every single teacher knows how important it is to have a good pencil sharpener in their classroom. It is as necessary as having students to teach. I, for one, have gone through many an electric sharpeners in my day. I've spent anywhere from $20-$60 on these sharpeners. And I can say eight years into my career not a single one has lasted. I all about gave up and added a "personal hand held sharpener" to my students' supply list. However, when I heard about the Quietest Classroom Pencil Sharpener and read the reviews, I'll admit I was intrigued.
So, when I was given a chance to review this product, I figured what the heck - why not? I received my green sharpener in the mail and let the box sit for a few weeks. What was the rush, right? It would probably end up failing like every other sharpener I've ever bought or received for my classroom. But one day when a student asked if he could borrow someone's sharpener because his handheld one broke, I remembered my box. Immediately I opened it up and the classroom was abuzz with excitement. I heard comments like, "Mrs. Lyon you got one of those?!?" and "I LOVE that sharpener!" Turned out the previous year teacher had one.
Needless to say the students knew exactly how to work it and those who didn't quickly learned. Soon I was a believer too! This was by far the BEST PENCIL SHARPENER in the world - and it wasn't even electric. I highly recommend that if you don't already own one that you place your order immediately. Trust me - you won't regret it.
Let's break it down:
PROS:
It really is quiet.
Sharpens to an awesome point - just the way I like my pencils.
Doesn't need to be mounted like other non-electric sharpeners.
The cost - for only $25 it really is a steal
Doesn't require an outlet to plug it in.
CONS:
Color choices - I wish it came in more colors. For some reason I would love a fushia pink one!
We've all seen them. Those black and white square boxes that remind us of barcodes on tags, books, etc. Now we find them all over! And in case you didn't know, they are called QR Codes. They can be found on movie posters, on the back of books, in magazines, on products we buy - simply every where! Every once in awhile you may scan one and find it takes you to a website which will show you perhaps an advertisement of some sort, a movie trailer or perhaps something different altogether.
The more I saw these boxes in the world around me, I tried to think of ways I could use them effectively in my classroom. As many of you already know, my students are piloting a 1:1 iPad program, so having a device that could read the QR Code was not an issue. I've started with just one class and eventually will use them in more subjects once the ideas hit me.
We've started with math class. So often I will teach a lesson and walk through multiple examples with my students only for them to go home and for whatever reason blank on what was taught. They'll come back the next day, I'll go over more examples and the light bulb (hopefully) goes off! I thought, wouldn't it be more effective for them to see examples the evening they are working on their homework? Absolutely (in my humble opinion)!
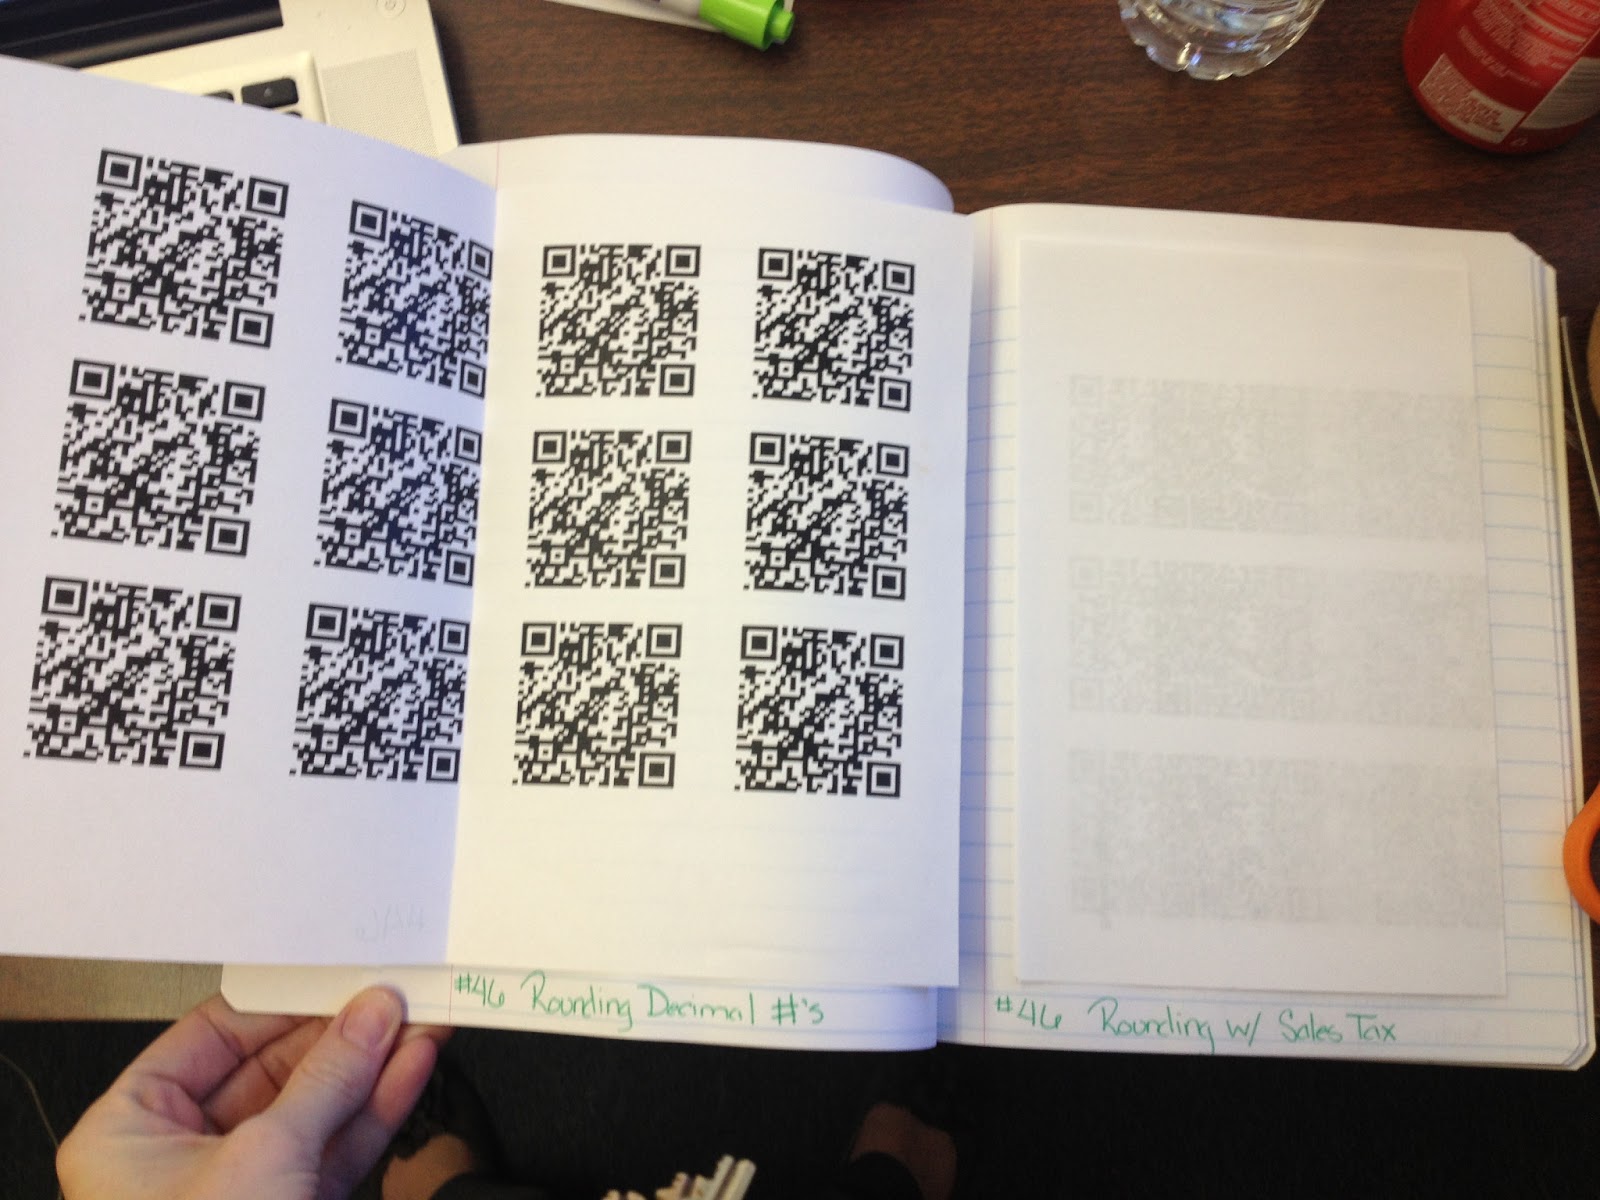
With that being said, I have now started to create short videos (I try to keep them 5 minutes or less) that are filled with examples from that day's lesson. Now, I know that I can find plenty of videos already created with the skills I'm teaching, however, our particular math program is very vocabulary heavy. So I make sure that when I'm creating the video, I'm using the vocabulary the students are also learning in class. Plus, the kids get a kick out of hearing my voice compared to someone they don't know. This way, I also know the videos won't one day be gone unless I get rid of them. I'm organizing all of my math QR Codes in a notebook where I glue in a
copy of the sheet I hand out to the students. This way, I will only
have to make a copy each year and not completely recreate them.
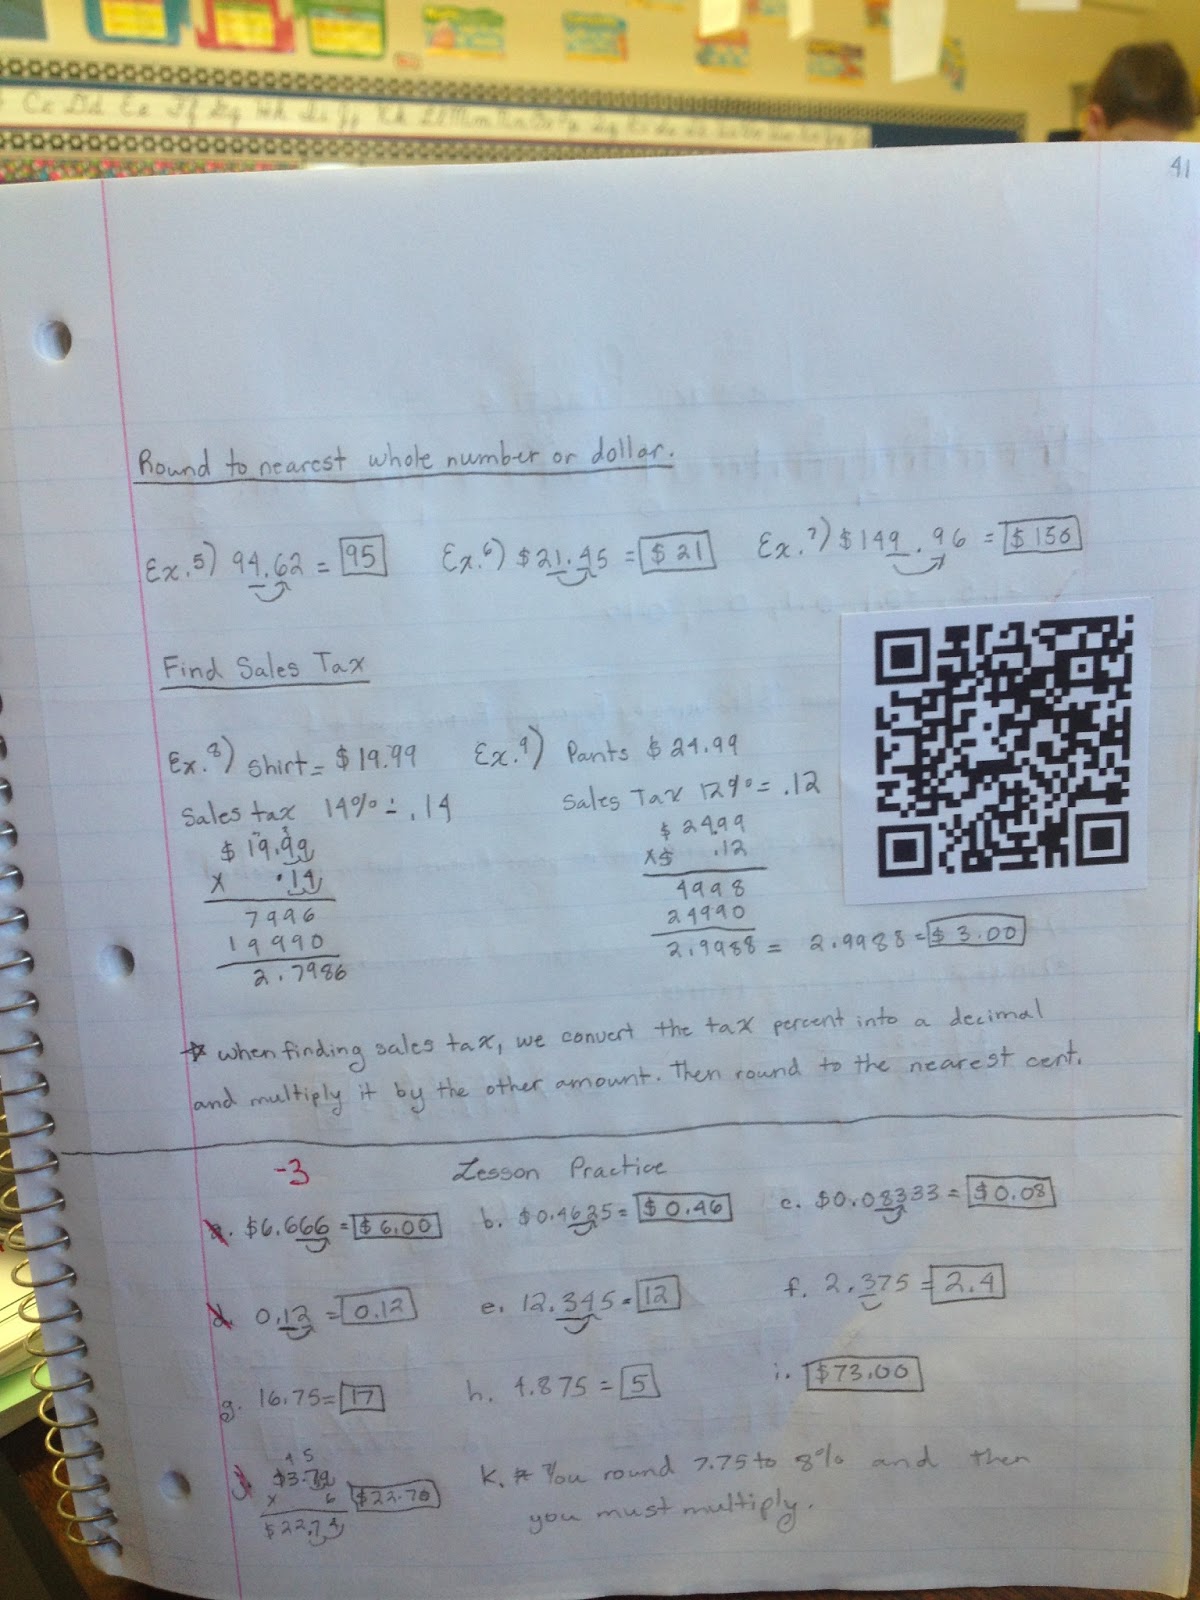
Creating the videos IS EASY! I use an app called ShowMe which is free but there are tons of other ones out there you can use. The nice thing about ShowMe is that I can easily record my video and upload it and it will immediately post it on the internet for me. From there, I take the web address they provided and go to Kaywa QR Code Creator. I simply cut and paste the web address in and click on Generate Free. It automatically makes me a QR Code which I then take a screen shot of and create a document of it (just copying and pasting it over and over so I have an entire sheetful). I print and cut out the QR Codes and the students glue them into their math notebook with their notes from that lesson.
Kaywa QR Code Creator Website
Students have on their iPad the App called Scan and when they want to see the video, they simply open up their notebooks and scan the QR Code. It will automatically take them directly to the video where they can watch it. The videos are nothing fancy and don't take long to make at all.
I've had a great response since I began doing this (only starting on Monday). And for students who were absent for some reason, this helps them too since they can still see examples being completed by me. I look forward to figuring out even more uses for this nifty little codes. I really think there are a ton of possibilities out there.
I even created sets of QR Code Task Cards for students to practice math and language arts. Check them out at my TpT store.
Do you use QR Codes in the classroom? Share below!
Prior to studying the 13 colonies and the American Revolution, we first cover the early explorers in 5th grade. I love ending the unit each year with a simulation created by Scholastic called Easy Simulations: Explorers. This book contains everything you need to have a fun and imaginative adventure with your students.
I begin the simulation each year by going through a Keynote with my kids explaining what a simulation is and the basics of the one we are going to do. This is where students are first introduced to the "characters" they can play and the ins and outs. I put them into groups of 4-6 (depending on the number of students I have in my class that year) and their first job is to create a name for their boat and design a flag for that boat. Here is an example from the past:
Once students have created their flag and have decided upon their "role" in the simulation, I hand out hats that I purchased relatively cheap. I have the Navigator wear a bandana instead of a regular sailor cap. This is the person who is the spokesperson for their ship and crew and bandana allows me to easily know who it is. Additionally, I purchase quills and ink sets for the students to take turns writing in their journal (see regarding journals below) at least once using an old fashion quill and ink. They LOVE THIS!! And it was a good investment - I've had the same ones for the past 4 years and they are still going strong.
One of my favorite journal entries
Finally the actual simulation begins - it takes place over five days and the book walks you through the different episodes. In the beginning students need to make decisions regarding which charter they care going to accept - Spain or Portugal. Both have pros and cons depending on what they decide to do. At the end of each episode, the students are required to write a journal entry describing the adventure they experienced. (This is where the students take turns writing with the quills and ink - they only get to do it once, not for all five). Students must write their entry in character which makes them always enjoyable to read. Some of my class really get into it!
Throughout the simulation a lot happens. There are decisions to be made, hardships to overcome, sickness and disease, mutiny of the crew, discovery of new lands and people and some of the group even lose their lives (which the kids always get a kick out of - some even write about pretend funerals that they end up having for their lost crew). Depending on the choices the group makes and a game of chance will determine whether or not they are successful.
Rubric
There are a lot of copies that need to be made for this simulation which is one of the reasons this year, I scanned the pages instead and uploaded them to Dropbox. The students then accessed the pages from there and using PDF notes opened the pages up and modified them on their iPads using their stylus. This way, the only printed out papers, were their journals. They used the Pages app to write their journal apps and uploaded them to me in Edmodo. (With the exception of their one journal entry which was done with the quill pens.)
Overall, this is a fabulous cumulative project to do. I love how the book has everything I need to successfully roll it out (including a rubric to grade them on) and yet allows me to add in little fun elements of my choosing. I always hear positive comments from my students about it and they always want to know when we are going to do another one. Enter Easy Simulations: American Revolution...... ;-)
New year, new themes I've decided. I plan on keeping my theme of Market Mondays where I will post something that I have purchased for use in my classroom and give a quick review of it. However, now that I'm also utilizing 1:1 iPads in the classroom, I decided that my theme of Website Wednesday no longer fit what I wanted to do. So.....(drum roll please) I've decided to now do Techie Thursday in place of it.
These posts will feature anything that has to do with technology - websites, apps, ideas, etc... Of course I may post things that have to do with technology on other days as well but at least this will guarantee one technology post a week.
Today's Techie Thursday is all about one of my all time favorite apps that I use in the classroom with my students almost daily. It's called Popplet. This app is a visual tool to allow students (and adults) to visually organize their thoughts or data. I mostly have my students use it as a graphic organizer tool to organize their writing. However, check out the multitude of ways that Popplet creators see it being used in this screen shot taken from their website. I'll admit I'm at the tip of the iceberg. There is so much more I could be doing with this tool!
Uses for Popplet
Let me explain a bit more. You can easily download Popplet from the iTunes store. There are two versions - the lite version which is free or the paid version which is $4.99. Obviously with the lite version there are restrictions and I have found with my time using Popplet it is WELL worth the $4.99 they are asking for. However, if you don't have an iPad or other Apple device don't let that deter you from checking this cool tool out. They also have it available online at www.popplet.com. You can create an account and begin making Popplets right away. They do have a maximum limit of 5 Popplets that can be created but now you can sign up for a Popplet plan depending on how much you plan on using it. They even offer school discounted pricing per student account.
Students can create individual Popplets which only they can see and work on or they can do collaborative Popplets. Below is an AWESOME example of one from the Popplet Facebook page that another teacher did with her students.
There are a variety of features available and this particular app is extremely easy to use and begin working with immediately. You have the ability to change colors, import photos, videos, draw pictures and so on.
Here is a video that eduTeacher created to show the basics of getting started in Popplet.
In addition to their webpage, Popplet also has a Facebook page. I highly recommend you also check that out. It's awesome to see how teachers in ALL grade levels are using this tool in their classroom.
Do you use Popplet? What are some activities you've done? Share below!