Pages

Showing posts with label 1:1 program. Show all posts

Friday, June 6, 2014

How to turn Wikipedia Pages Into eBooks

Did you know that you can turn any Wikipedia page/article into it's own ebook?  This past week I spent 5 days up in Cupertino, CA at Apple Academy.  It was an awesome experience and I highly recommend my fellow educators to apply themselves and try to attend. I learned a lot and am ready to amp up my professional development training at my school.

Wikipedia page turned into an eBook


While I learned so many things, one of the coolest was how to turn a Wikipedia page into an ebook.  And the best part about it?  IT'S SUPER EASY!  I created a quick tutorial video for you below.  Let me know if you have any questions.


Enjoy!
Katie

Wednesday, May 14, 2014

Book Creator - An app for the writing classroom!

Do you write whole class stories with your students?  Do your students write their own stories or write papers?  I'm sure the answer to at least one of these questions is YES!  If so and you have access to either iPads or tables with Android, I highly recommend you check out the app called Book Creator.  In my last post, I spoke about the Poetry Cafe I did with my students and mentioned how I had them use Book Creator to create their final poetry books.  Some of you emailed me with questions regarding this app, so I thought I'd be a little more detailed on how it works.

First, it's important to note that Book Creator has two versions - the Free one and the paid one.  The free version limits you to being able to create only one book.  Which is perfect to allow you to try it out first and see if you like it.  I like how the free version just limits you that way and not on using all of the features that are available.  The paid version is only $4.99 and if you get the education discount, you can get 50% off 20 or more licenses making it well worth it!

The features that are available on Book Creator are awesome!  Way better than some of the other book creation apps I've tried.  And it only took my students about a day to quickly get used to it and

quickly become authors.  Once you open that app, you choose to create a new book.  You get the choices of choosing your book shape from portrait, square, and landscape.  I found that when printing the book, that using portrait was the best choice. But if you aren't printing and just using them as e-books, any shape would work.  You have the ability to add photos, text, writing, and sound.  I was really excited about the sound feature!  You can't currently do a highlighted with read along but that wasn't too big of a deal for me.  I can see how in the younger grades that would be very useful though. Hopefully it's something the creators of the app are looking into.  You can also adjust the background color of the pages.   One feature that my students particularly liked was being able to move the pages after you created them.  This allowed my students to work on their poetry in any order and then move them to the appropriate location when done.
My students' poetry books.

The best part was when my students were all done with their books, I was easily able to have them send them to me and COMBINE them into one large 5th grade poetry book.  At first I didn't really think about the possibilities of this until I came across this teacher (it's actually posted on the app creators webpage) idea on creating a global book where people all over the world create a page and you combine them all together.  How neat would that be!?!  I started to think about how I could have my students and their pen pals create books together and so much more.
and her

Next year....  How would you use Book Creator in your classroom?

Katie

****I took the screenshots right off their website.  You can see just by looking at those how amazing and professional your books can look.  :-)

Tuesday, March 4, 2014

Techie Tuesday: Dropbox

Some of you have sent me messages inquiring on how I use certain apps in my classroom with the 1:1 iPad setting.  So today, I want to talk about how I use Dropbox with my kiddos.

In case you didn't know, Dropbox is basically a virtual cloud in which you can upload all sorts of things ranging from documents to pictures and more.  You can share these files with other people, or access them from any device that connects to the internet.  Dropbox is available on the computer at www.dropbox.com or in app form on the iPhone, iPod, iPad and Android products (and more). 

It's safe, it's secure, and best of all it is FREE if you are using their basic subscription. 
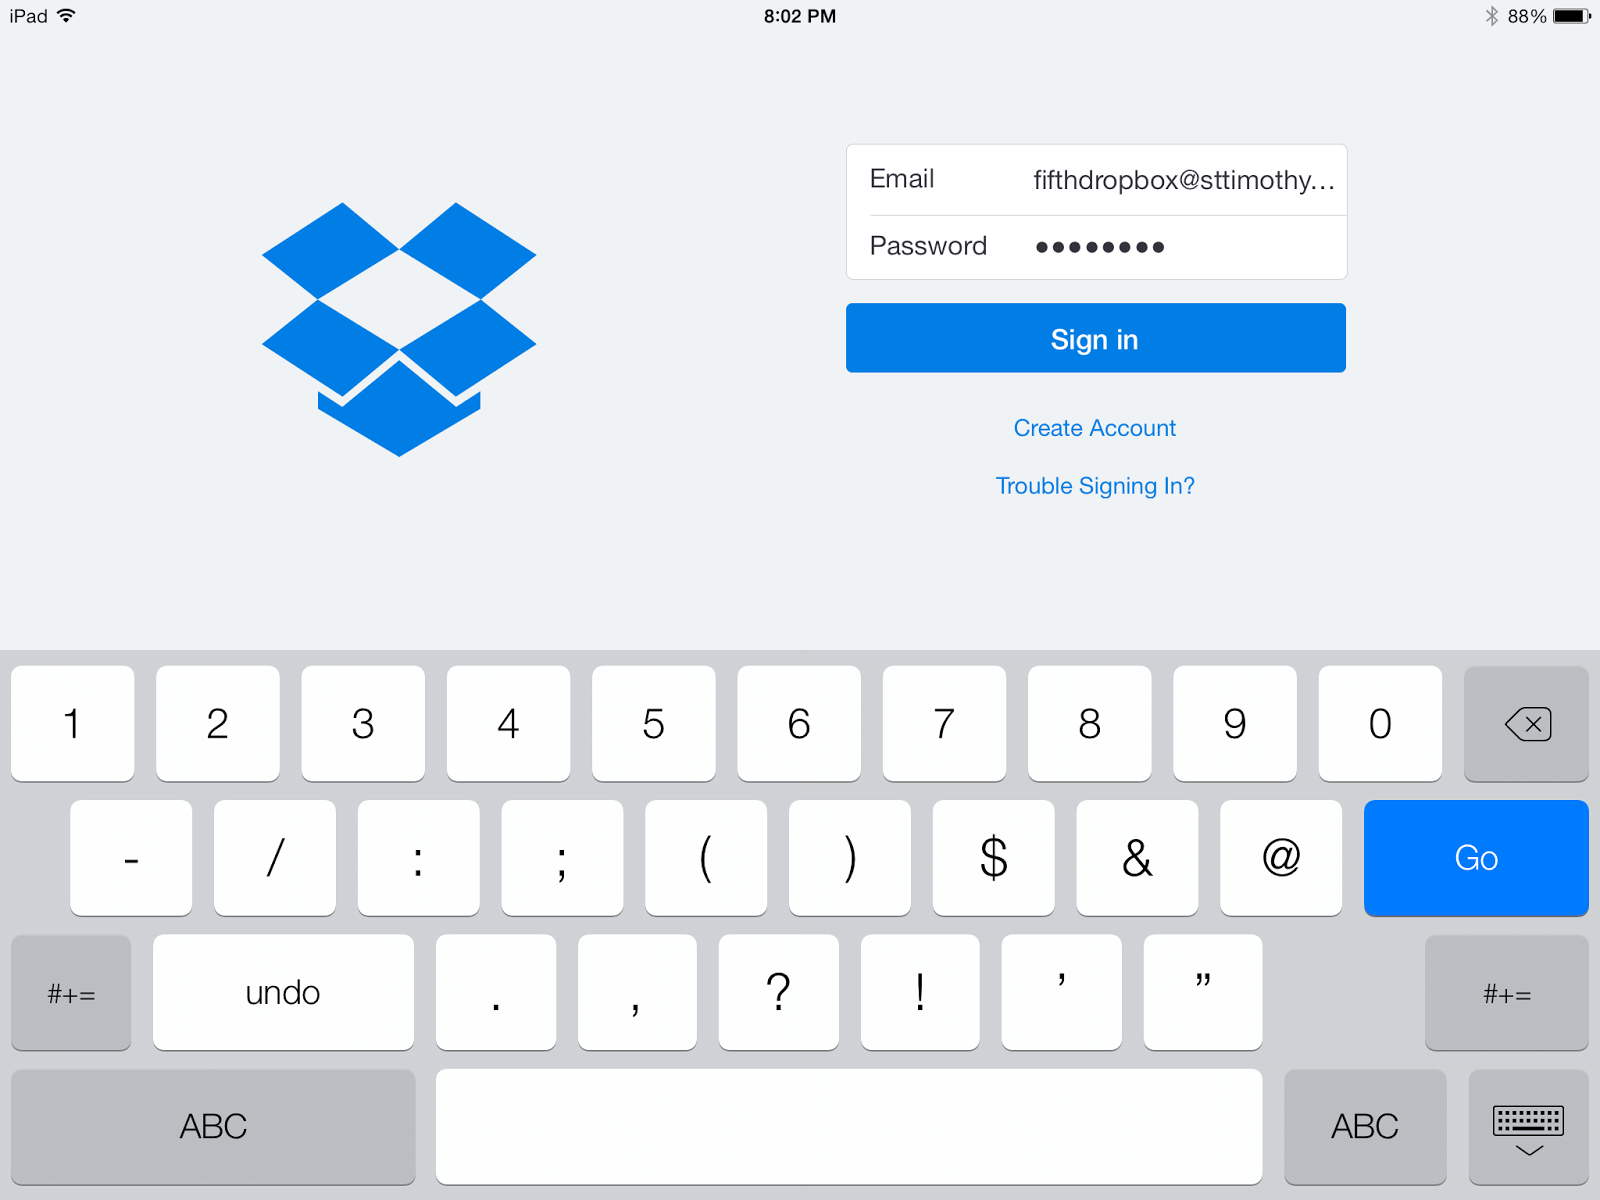
Logging into account on iPad
You are given 2 GB with the free plan. This has always been more than enough for my class.  For my classroom setting, I wanted to use Dropbox as another way for students to share their work with me.  In turn, I use it as a place to upload audio files, pictures (commonly pictures of the math notes that I gave for that day), and other files that I want them to access.  I could of course share these things with them through email and Google Drive but I often find that Dropbox is a quick and efficient way for me to do it.  I regularly clean out our Dropbox with files that we no longer need with the exception of our math notes which remain in there all year. 

Cancel this - prevents photos being uploaded.
The first thing I did was create a generic Dropbox account.  (I also have one that is just for my use as a teacher but used a different email.) Since I have access to create email accounts at our school, I was able to create a 5thgrade@ourschooldomain.com email but you could do it using any regular email provider (gmail, hotmail, yahoo) or even use your school email.  I used that email with a generic password when creating our Dropbox account.  After I created the account I then provided the login and password to my students.  Using their iPads, they logged into the account.  I made them all cancel the automatic photo upload so any picture they took on their iPad wouldn't be automatically synced to our Dropbox. 

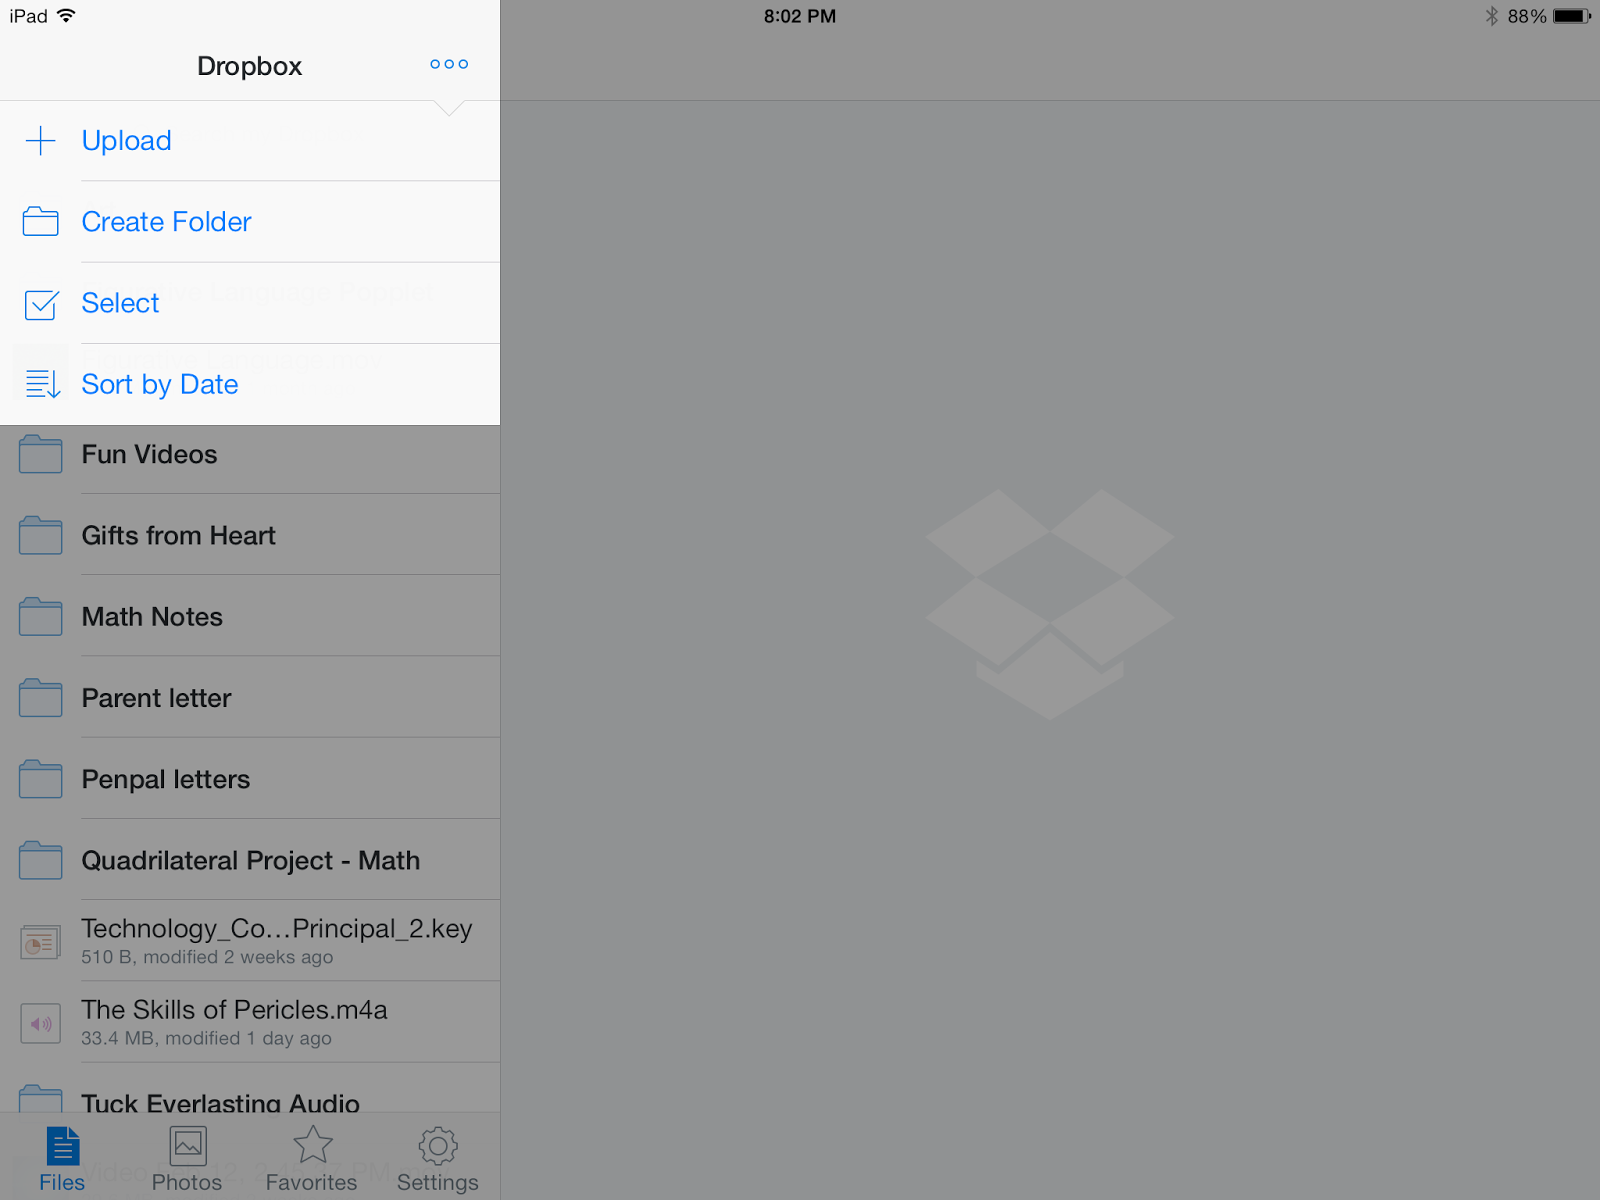
Easy to upload, create, and select & delete files.
The method is perfect for what I'm using it for.  It gives all of us a central location for things we need in class.  If a student has something on their iPad that doesn't need to be shared with me or the class, they simply use their Google Drive for that instead. 

It's easy to upload things directly from your computer or device.  You can even create folders within your Dropbox to keep things neat and organized. Once you have put files in, you can click on them and choose from a variety of options such as emailing, messaging, etc.  Or you can open the document in another app that you choose from a list. 

If you haven't already used Dropbox I highly recommend you check it out.  Even if you don't have a 1:1 program in place, it can be useful in the classroom and for a teacher!  So check it out today.


Friday, February 22, 2013

Techie Thursday (delayed): AppsGoneFree

I'm a little late on my Techie Thursday but was so excited about this find that I couldn't wait until next week.  So without further adieu here it is.   Have you heard of AppsGoneFree?  This awesome little app gives you a DAILY list of what paid apps are on special for FREE!

Unlike AppGratis or other ones of it's kind, AppsGoneFree will list more than one app.  As of today, there were 11 apps that were listed for free.  You can also look at past dates and see what apps were free and if they are still available for free, you find that out as well.  

The apps range from educational to art to productivity.  For example, today I was able to download Fiete, which is an interactive picture book that helps children work on their fine motor skills.  Perfect for my 19 month old WHO loves fooling around with the iPad. 

For my students in 5th grade, I downloaded Mozaikr, which will allow them to create mosaics from their photos.  This should be fun to use in art class - not quite sure what I'll do with it but hey I couldn't pass it up. 

It's definitely worth having the notifications sent to you on a daily basis as you never know what will come up.  

Have you ever heard of Apps Gone Free?  What is the best paid App you ever got for free?  What app do you think I should be on the look out for?

Saturday, February 9, 2013

Quadrilateral project with the Geoboard app (and a AWESOME Giveaway!)

In math class my students are learning how to identify different types of quadrilaterals and the characteristics that make them all up.  In order to assist them, I created this little handout which they put in their math notebook so they have an easy reference.


Since we have the iPads, I also created a little Quadrilateral booklet project for them to work on.  The project requires the students to create the shapes using the Geoboard app AND be able to identify these shapes in real life and explain how they are use. The students were thrilled to be able to play with the Geoboard app as we've had it on our iPads for sometime but never used it.  Just like if they were using real Geoboards, they have the ability to pick different color rubber bands but unlike the real Geoboards they can also fill in their shapes.  Best part about this app......it's FREE!


The possibilities for using it are practically endless!  Students can represents fractions, figure out area and perimeter, and so on.  It's really easy to use too.  A win win all around. 

You can get a copy of both my free handout and booklet project at my store.  Hopefully your students will enjoy it as much as mine are!


Also, in case you haven't heard or seen it already, my friend, Krystal Mills, over at Lessons from the Middle is having her First Bloggy Birthday!  A bunch of us fellow bloggers got together and donated TONS of products for her to give away ranging in all grade levels.  Head over and enter to win some awesome prize packs whose total worth IS $500!
And don't forget to download the Geoboard App for some virtual rubberband fun! ;-)
Enjoy! 


Thursday, February 7, 2013

Techie Thursday: MyHomework App

As my 5th grade class continues the pilot program for the 1:1 iPads which will be in place school-wide next year, we also continue the search for a great homework app.  Of course, each student at my school is provided with an agenda book where they can write out by hand what their homework assignment is.  There are of course pros and cons to this.  In my classroom, I'm all about accountability and responsibility.  So my philosophy was always that the students are RESPONSIBLE to write their homework down.  Of course, as teachers we know that as wonderful of a philosophy that might be, it doesn't always happen.  Which then leads to issues of parents not know what the assignments are, which leads to parent/teacher conferences to try and solve the problem which leads to me having to potentially check EVERY single agenda to make sure students have written down their assignments.  And I'll be honest.....that's just not going to happen.

Sooooooo.....in efforts to save time for us all, still make my students accountable but even more importantly inform parents of what assignments are so they can be sure to provide the support needed at home, I searched out apps for students to record their assignments.  The first app we tested out was called iHomework.  It was nice and had many cool features but I found that it was unreliable at best and didn't work for what I needed.  Many times it would force close, didn't provide a link to parents, tended to confuse students on how to enter in assignments and on top of it all, cost $1.99 per iPad (of course you could get the educator discount if you bought 20 or more of it).  Don't get me wrong - this is probably a perfect app for a high school students or even college students but for 3rd - 8th grade it didn't cut it. However, it may be perfect for some.

So while my students had the option between using the iHomework app or using the traditional paper/pencil agenda, I continued to look.  After doing some research I came across MyHomework.  The app itself is free (however I think if you load it onto a computer it costs money).  The app itself requires students to create a personal login and password (unlike iHomework).  It does request that the students are 13 or older but with parent permission that isn't a problem.  Students have the ability to create different classes (which is great for middle school students) and can enter in Lessons, Assignments and Tests.  They can also download this app onto several devices and it will seamlessly sync between all of them which is what iHomework lacked.  With this ability, my students' parents load the app onto their smartphone or device and login using their child's information.  This way they can see what the assignments are and when they are due.  However, this is only TRUE if the student is recording all the assignments down. 

This is where this app gets EVEN better!  There is also a teacher component available as well (FREE).  As a teacher, I can go in and create my class(es) and add in assignments, lessons, tests, announcements, syllabi, etc.  Students can then search for me and "JOIN" my class.  Instantly providing them with all the information I'm inputting.  When I first signed up for this resource, I still made it the responsibility of the student to input their assignments in.  But I found time and time again that a couple of my students just would not enter them all in.  Which resulted in their parents still not knowing what was due and a lot of incompletes and zeros.  I have since started to input my assignments in daily (it takes me less than 3 minutes!) and still makes my kids accountable for actually doing the work.  Because when it comes down to it, I'd rather them be completing the work instead of just writing it in their agenda.  Again, my students' parents see everything I'm putting in because they either are signed in as their child on their device or they created their own account and "joined" my class.  How awesome is that?!?!

What the students see on their iPads

And again, the best part about this app and all it's fabulous features - it's F-R-E-E!!!  You can't get better than that. :-)

So don't waste anytime - check it out.  (And no - I don't get royalties.....though I should! haha)

Here are the two links you need:

Student Login: https://myhomeworkapp.com/
Teacher Login: https://teachers.io/

When you sign up as a teacher, you need to first input your email and you'll receive an "invitation" via email.  I'm not quite sure why the developer went that route but I found that I received my invitation in a matter of hours of requesting it.  Students can sign up immediately. 

Give it a go and let me know what you think!

Thursday, January 3, 2013

Techie Thursday: Popplet

New year, new themes I've decided.  I plan on keeping my theme of Market Mondays where I will post something that I have purchased for use in my classroom and give a quick review of it.  However, now that I'm also utilizing 1:1 iPads in the classroom, I decided that my theme of Website Wednesday no longer fit what I wanted to do. So.....(drum roll please) I've decided to now do Techie Thursday in place of it.

These posts will feature anything that has to do with technology - websites, apps, ideas, etc...  Of course I may post things that have to do with technology on other days as well but at least this will guarantee one technology post a week.


Today's Techie Thursday is all about one of my all time favorite apps that I use in the classroom with my students almost daily.  It's called Popplet.  This app is a visual tool to allow students (and adults) to visually organize their thoughts or data.  I mostly have my students use it as a graphic organizer tool to organize their writing.  However, check out the multitude of ways that Popplet creators see it being used in this screen shot taken from their website.  I'll admit I'm at the tip of the iceberg. There is so much more I could be doing with this tool!

Uses for Popplet

Let me explain a bit more.  You can easily download Popplet from the iTunes store.  There are two versions - the lite version which is free or the paid version which is $4.99.  Obviously with the lite version there are restrictions and I have found with my time using Popplet it is WELL worth the $4.99 they are asking for.  However, if you don't have an iPad or other Apple device don't let that deter you from checking this cool tool out.  They also have it available online at www.popplet.com.  You can create an account and begin making Popplets right away.   They do have a maximum limit of 5 Popplets that can be created but now you can sign up for a Popplet plan depending on how much you plan on using it.  They even offer school discounted pricing per student account. 

Students can create individual Popplets which only they can see and work on or they can do collaborative Popplets.  Below is an AWESOME example of one from the Popplet Facebook page that another teacher did with her students.


There are a variety of features available and this particular app is extremely easy to use and begin working with immediately.  You have the ability to change colors, import photos, videos, draw pictures and so on.  

Here is a video that eduTeacher created to show the basics of getting started in Popplet.


 In addition to their webpage, Popplet also has a Facebook page.  I highly recommend you also check that out.  It's awesome to see how teachers in ALL grade levels are using this tool in their classroom. 

Do you use Popplet?  What are some activities you've done? Share below!


Friday, October 5, 2012

iPad Pledge

I realized it has been quite some time since my last post. Five weeks ago, I was busy setting up my classroom, getting ready for my students and about to undertake a huge pilot program for the school......our 1:1 iPad program!

While I'm so excited and thankful that my grade was chosen to pilot the program, it has also been a lot of work and research on my end to be sure that things are done properly. Yes, I have encountered glitches along the way and definitely had students do things on the iPad that I wonder what the heck I was thinking but overall it has been a wonderful experience. I look forward to sharing my experience with all of you and welcome any advice you may have.

One of the first things we had to do, was create a student iPad pledge. Since the iPads are the property of the school but students would be allowed to take them home, it was important for us to set some guidelines for our students. If you Google "student iPad" agreements, you will get a ton of hits.....which is exactly what I did to begin with. Once I had a few samples to work with, I sat down and reflected on what would be best for our school and population of students. This is what we came up with.


We reviewed the iPad pledge together as a class and talked about each point and why it was important.  Parents also have to review the document and sign off on it as well.  Today, is actually the first day that the students will be bringing the iPads home.  Here's hoping students honor and abide the pledge. ;-)

Do you have an agreement that you make students sign-off on for electronic devices?
Related Posts Plugin for WordPress, Blogger...